Above the Clouds is a resource pack that isn’t like many others out there because it’s been designed to focus solely on the sky of Minecraft instead of the textures of the terrain itself. It goes without saying that, due to the pack’s sole focus on the in-game sky, it’s not really something that’s been crafted for a wide audience of players. The pack’s been designed for players who either simply want to enhance the look of the in-game sky and not anything else or that particular audience of players that frequently engage themselves with Skyblock, Skywar, Eggwar, Bedwar and other similar things.


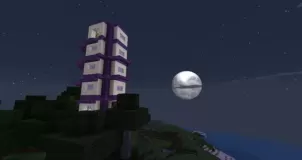
The Above the Clouds resource pack changes the entire default sky texture and replaces with something a lot more appealing. The Above the Clouds resource pack features a variety of different sky textures for different times of the day such as Noon, Sunrise and Sunset. The pack also features a special dark and cloudy texture for the in-game sky, and this texture has been reserved for when it rains, and the sky goes dark. One of the most impressive aspects of the Above the Clouds resource pack is the fact that it features custom lightmaps and these help give the sky a dynamic look as compared to the static image that you usually see in the sky of vanilla Minecraft.


The Above the Clouds resource pack’s textures have a resolution of 64×64 but, considering the fact that this pack doesn’t actually change that many of the game’s textures, it’s hard to imagine that it’d have any kind of adverse impact on the frame-rate of the game.
How to install Above the Clouds Resource Pack?
- Download & Install Optifine HD Mod.
- Start Minecraft.
- Click “Options” in the start menu.
- Click “resource packs” in the options menu.
- In the resource packs menu, click “Open resource pack folder”.
- Put the .zip file you downloaded in the resource pack folder.


